
 繁体中文
繁体中文 简体中文
简体中文
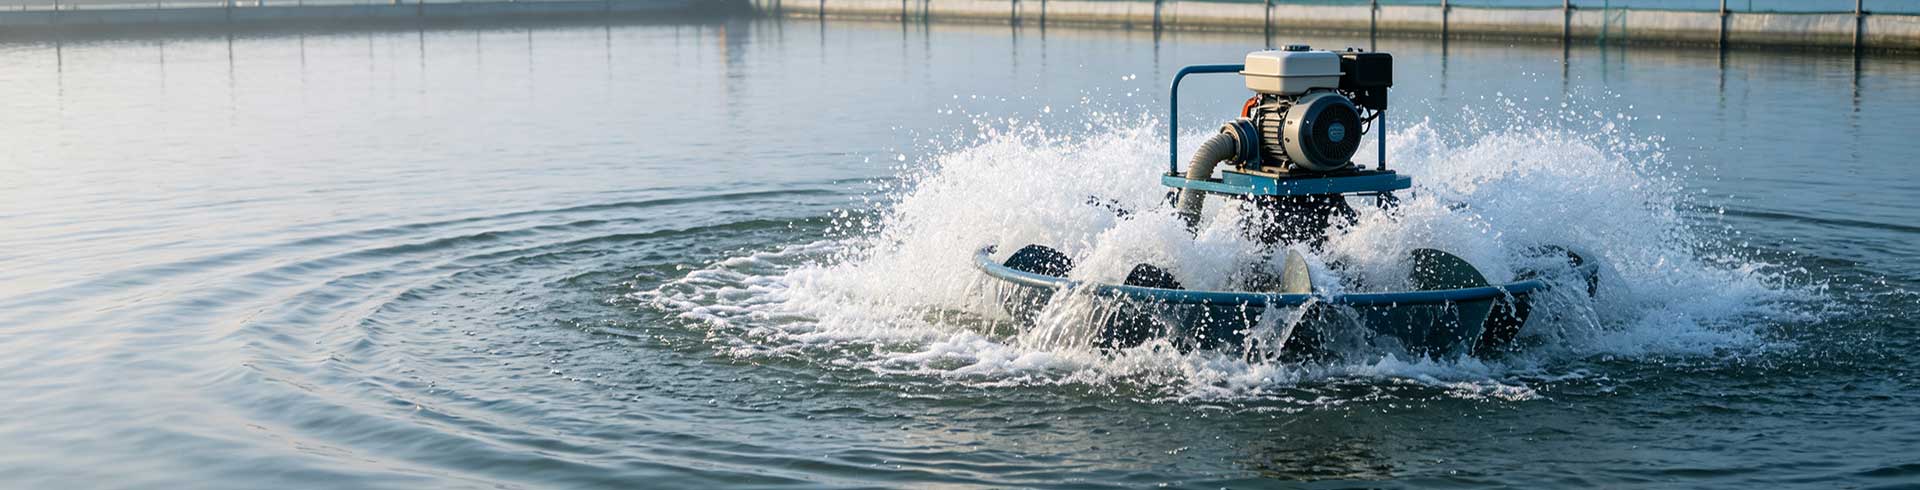

Preparations before installation of greenhouse breeding aerator
Before installing the aerator, adequate preparation is the key to ensure the smooth installation and subsequent efficient operation. First of all, it is necessary to choose the appropriate type and power of the aerator according to the area, breeding variety and density of the greenhouse. Common aerators are impeller type, water wheel type, jet type, etc. Each has its application scenarios. For example, the impeller type aerator is suitable for deep water ponds, the water wheel type is suitable for shallow water or shrimp ponds, and the jet type is suitable for small-scale high-density breeding. Secondly, it is necessary to check whether the power line in the greenhouse meets the power requirements of the aerator and is equipped with a leakage protection switch. At the same time, prepare installation tools such as wrenches, screwdrivers, wire, float, etc. Finally, plan the installation location of the aerator. It is generally recommended to install it in the center of the greenhouse or in an area with better water circulation to ensure a uniform aerating effect.
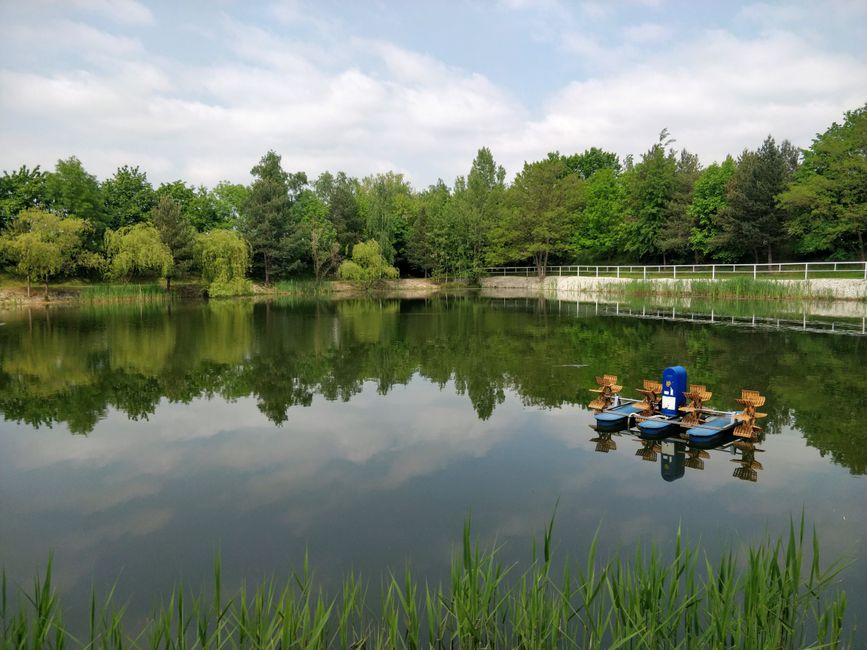
Detailed explanation of installation steps of greenhouse breeding aerator
1. Determine the installation location and fixing method
Depending on the structure of the greenhouse and the shape of the pond, determine the installation location of the aerator. For earth ponds, the aerator is usually fixed in the center of the pond or near the edge of the pond, using ropes or brackets. For cement ponds or canvas ponds, brackets or suspension devices can be installed. Ensure that the installation location does not affect daily feeding and fishing operations, and that the flow generated by the operation of the aerator can cover the entire pond surface.
2. Install the float or bracket
For floating aerators (such as impeller type), the floating body needs to be installed first. Connect the floating body according to the instructions to ensure that the buoyancy is sufficient to support the aerator and adjust it to a level. For fixed aerators (such as water wheel type), a bracket needs to be installed. The bracket should be firm to prevent shaking during operation. Use a level ruler to check whether the aerator is level to ensure smooth operation.
3. Connect the motor and transmission components
Install the motor of the aerator in place and connect the drive shaft, impeller or waterwheel blades. Pay attention to the fastening of the transmission parts to avoid loosening. For the belt-driven aerator, adjust the belt tightness, neither too loose to cause slipping, nor too tight to increase the motor load. Connect the power cord, make sure the wiring is correct, and do a good job of waterproofing.
4. Install the main body of the aerator
Place the assembled aerator body in a predetermined position. For a floating aerator, place it lightly into the water to ensure that the floating body is balanced and the impeller is immersed in the water at a suitable depth (usually about 1/3 of the diameter of the impeller). For a fixed aerator, fix it on the bracket and adjust the angle and height so that the waterwheel blades are partially immersed in the water.
5. Connect the power supply and test run
Connect the power supply, close the switch, start the aerator. Observe the operation, check whether there is abnormal sound, violent shaking or leakage phenomenon. Test the running time of at least 30 minutes, observe whether the water flow and bubbles are uniform. If there is any problem, immediately stop the machine to check the adjustment. After confirming that it is normal, it can be officially put into use.
Precautions for installation of greenhouse breeding aerator
Safety first: anti-leakage and anti-drowning
The environment of the greenhouse is humid, and circuit safety is of paramount importance. Waterproof cables must be used during installation, and ensure that all joints are well sealed. The aerator should be connected to an independent leakage protector, and its sensitivity should be checked regularly. When operating by the water, operators should wear insulated shoes to avoid touching the switch with wet hands. At the same time, during the operation of the aerator, it is strictly forbidden for personnel to enter the water body to prevent involvement.
Reasonable layout to ensure uniform oxygenation
According to the shape and area of the greenhouse, the number of aerators should be arranged reasonably. If the greenhouse area is large, multiple aerators may be required. When installing, attention should be paid to the spacing, so that the water flow can form a cycle and avoid the existence of hypoxia dead ends. For long-shaped greenhouses, it can be arranged along the long side to make the water flow lengthwise; for square or round pools, it can be installed in the center position.
Consider the relationship between aerator and feeding area
The water flow generated by the aerator will affect the distribution of feed. When installing, avoid facing the aerator to the feeding area, so as not to wash away the feed and cause waste. At the same time, the air bubbles and noise generated during the operation of the aerator may affect the feeding behavior of farmed animals, so the operation mode of the aerator can be adjusted appropriately during the feeding period.
Maintenance and upkeep
After the installation is completed, a regular maintenance system should be established. Before each use, check whether the various parts of the aerator are loose and whether there is any foreign matter entangled in the impeller or water wheel. Regularly clean the attachments on the aerator, such as algae, shellfish, etc. The motor should be regularly filled with lubricating oil to check the sealing. In the non-use season, the aerator should be removed and cleaned, and stored in a dry and ventilated place.
Common problems and solutions of greenhouse aerator
| common problem | Possible reason | workaround |
|---|---|---|
| The aerator is running but there are no bubbles. | Insufficient immersion depth of the impeller, or wear of the waterwheel blades | Adjust the position of the aerator to make the impeller immersion depth appropriate, and replace the worn parts |
| The aerator is shaking violently | The floating body is unbalanced, or the bracket is not firm | Adjust the position of the floating body, reinforce the bracket, and ensure the level |
| Motor overheating or tripping | Voltage instability, or excessive motor load | Check the power supply voltage, clean the impeller winding, and check whether the transmission parts are stuck. |
| Frequent trip of leakage protector | Damaged cable or water ingress | Check cables and connectors, replace waterproof cables, and reseal |
conclusion
The correct installation of the greenhouse aquaculture aerator is the basis for ensuring sufficient dissolved oxygen in the aquaculture water and improving the aquaculture density. Through the illustrated steps and precautions in this article, I believe you have mastered the essentials of installation. In actual operation, please be sure to follow the safety specifications and adjust flexibly according to the specific situation of the aquaculture. In case of complex problems, it is recommended to consult a professional or manufacturer for technical support. I wish you a smooth farming, high yield and efficiency!


