
 繁体中文
繁体中文 简体中文
简体中文
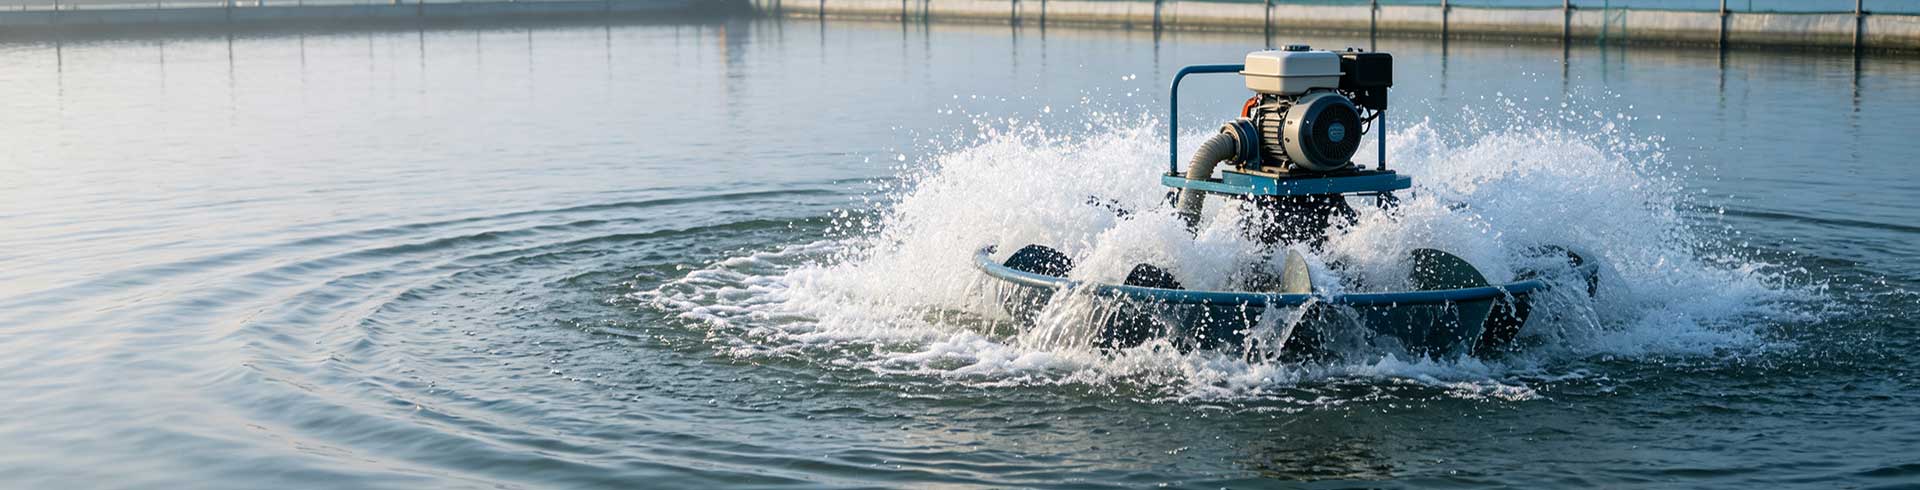
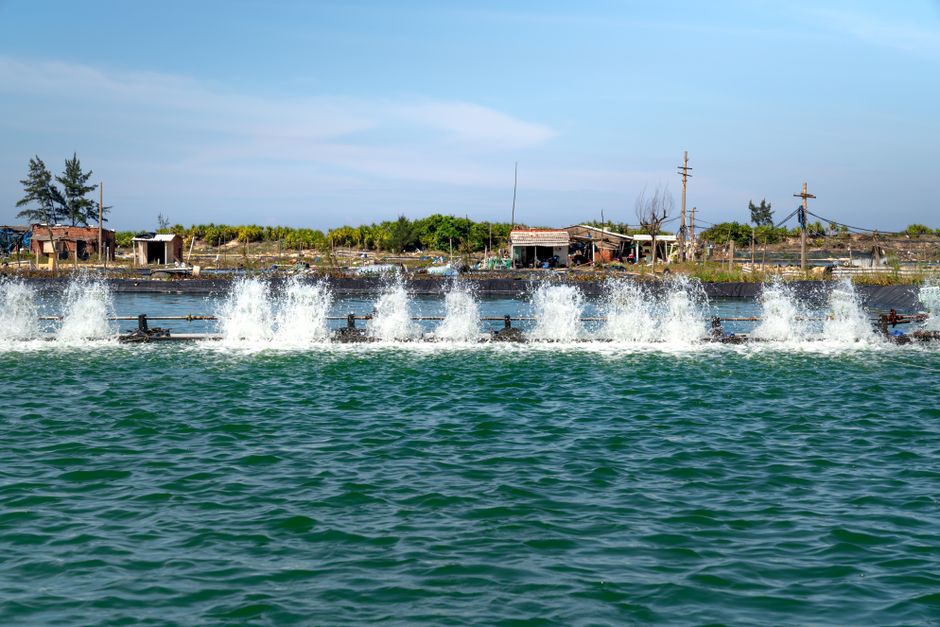
Shrimp pond aerator configuration standard: how many kilowatts per mu?
In shrimp farming such as Penaeus vannamei, the aerator is the core equipment to ensure water dissolved oxygen and promote shrimp growth. Improper configuration not only wastes electricity bills, but also may cause shrimp floating head and death due to lack of oxygen, resulting in huge losses. This article will deeply analyze the configuration standards of the shrimp pond aerator, focusing on answering the key question of "how many kilowatts per mu", and providing practical configuration suggestions.
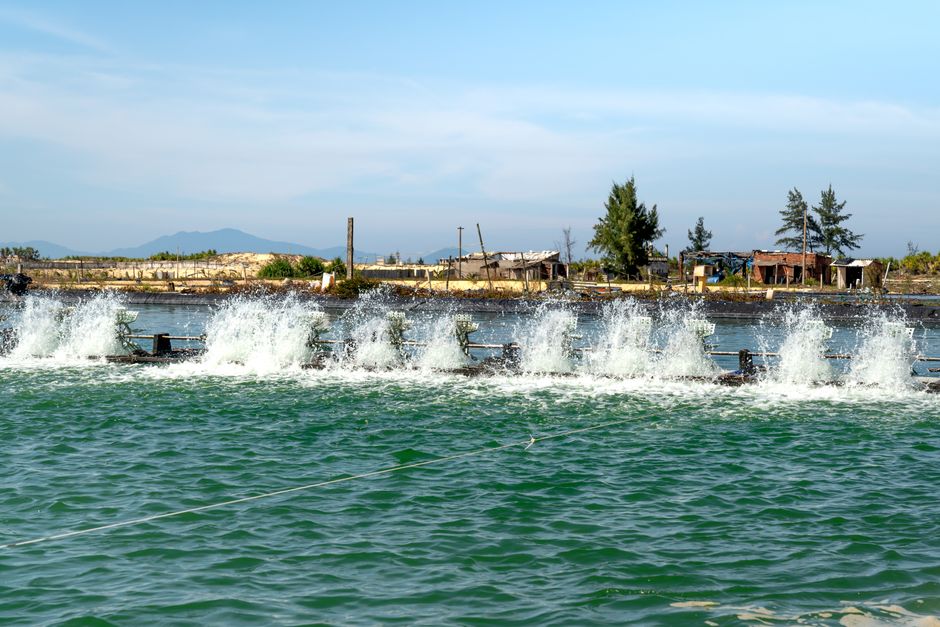
Why is the aerator configuration so important?
The main function of the aerator is to increase the amount of dissolved oxygen in the water body, promote the up and down circulation of the water body, improve the water quality, and provide sufficient oxygen for shrimp. A reasonable configuration of the aerator can:
- Improve the survival rate and growth rate of shrimp.
- Reduce the occurrence of diseases and reduce the risk of flooding ponds.
- Improve feed utilization and reduce breeding costs.
- Maintain the ecological balance of water bodies and reduce problems such as algae and ammonia nitrogen exceeding standards.
When the configuration is insufficient, the dissolved oxygen in the shrimp pond is insufficient, especially in key periods such as high temperature, rainy, and later stage of breeding, it is easy to cause hypoxia floating head, and even the death of the whole pond. Excessive configuration will increase electricity bills, and excessive water flow will affect the feeding and habitat of shrimp.
Second, shrimp pond aerator configuration standard: how many kilowatts per mu?
The current recommended configuration standards in the industry are:
The power of the aerator per mu is 0.3~ 0.5 kW
(That is, a 1.5-kilowatt aerator is equipped for every 3 to 5 acres). But the specific power needs to be adjusted according to factors such as pond conditions, breeding mode, and shrimp density.
Configuration reference for different farming models
| breeding mode | Recommended power (kW/mu) | explain |
|---|---|---|
| Extensive culture (low density) | 0.2~0.3 | The shrimp density is low and the water exchange is good, which can reduce the aerator appropriately. |
| Semi-intensive culture (medium density) | 0.3~0.4 | Conventional soil pond culture requires basic dissolved oxygen. |
| Intensive culture (high density) | 0.5~0.8 | High-density ponds or high-density aquaculture require strong oxygenation. |
| Factory circulating water | 1.0 or higher | Ultra-high density requires compound oxygenation such as microporous oxygenation. |
Example of estimating by pond area
For example, a 10-acre shrimp pond, if semi-intensive farming mode is adopted, the recommended total power is 100.3 to 0.4 kW = 3 to 4 kW, and three 1.5 kW impeller aerators can be configured, or two 1.5 kW plus one 0.75 kW water wheel aerator.
III. Key factors affecting the configuration power
1. The farming density of shrimp
The higher the density, the greater the oxygen consumption. Intensive ponds (more than 50,000 per mu) need to be configured with more than 0.5 kW/mu, while extensive ponds (less than 10,000 per mu) 0.2 kW/mu.
2. Pond depth and area
When the water depth exceeds 2 meters, the bottom layer of dissolved oxygen is easy to be insufficient, and the bottom micropores need to be increased for oxygenation; when the area is too large (more than 10 acres), it is recommended to configure sharding to avoid dead ends.
3. Type of aerator
The oxygenation capacity (power efficiency) of different aerators is different. Impeller aerators generally add 1.5 to 2.0 kilograms of oxygen per kilowatt-hour, and waterwheel aerators add about 1.2 to 1.8 kilograms of oxygen per kilowatt-hour. Microporous oxygen is more efficient, but it needs to be matched with a fan. Therefore, under the same power, microporous oxygen can cover more water surface.
4. Climate and seasons
In hot summer and sultry typhoon weather, dissolved oxygen decreases rapidly, so it is necessary to increase the startup time; in winter, low temperature can reduce the startup. Therefore, the configuration power needs to meet the needs of the most adverse conditions (such as summer night).
5. Water quality and sediment
Ponds with excessive water quality and thick sediment consume a lot of organic matter and require increased power; conversely, refreshing water quality can be appropriately reduced.
Fourth, aerator types and selection suggestions
1. Impeller aerator
Suitable for soil ponds, with strong water lifting capacity and good oxygenation effect, it is the mainstream choice. Generally, 1.5 kW can cover 3 to 5 acres, suitable for water depth of 1.5 to 2 meters.
2. Water wheel aerator
Suitable for high-level ponds or rectangular ponds, promoting water flow, good sewage collection effect, but slightly lower oxygen enhancement efficiency. Generally 1.5 kW covers 2 to 3 acres.
3. Microporous oxygenator (bottom tube oxygenation)
Through the fan to the bottom of the pool, the bubbles are refined, and the oxygen is evenly increased, which is suitable for high-density breeding, especially for shrimp benthic habits. The general configuration fan power is 0.1 to 0.2 kW/mu (such as 3 kW fan can manage 10 to 20 mu), and nanotubes are required.
4. Jet aerator
Suitable for deep ponds, but with higher energy consumption and less use.
Selection suggestions:
For intensive shrimp ponds, it is recommended to use a combination of "impeller type + micropore" to ensure both surface dissolved oxygen and bottom dissolved oxygen. For example, 5 mu ponds can be equipped with a 1.5 kW impeller aerator and a 0.75 kW microporous oxygen system.
Fifth, the layout and installation skills of the aerator
A reasonable layout can maximize the oxygenation effect.
- Impeller aerator
It should be placed in the center of the pond or 5 to 8 meters away from the shore to avoid water initializing the dam. - Waterwheel aerator
It is arranged along the long side to promote the formation of a circulation of water flow, which is conducive to pollution collection. - microporous oxygenation
Pipes are laid at the bottom of the pool, and the coil spacing is determined according to the power. Generally, each pipe is 10 to 20 meters long and the spacing is 3 to 5 meters. - When multiple aerators are installed, they should be evenly distributed to avoid dead ends; they can be staggered to form convection.
Key points of daily operation management
1. Boot time
Generally, it can be turned on for 2 to 3 hours at noon on sunny days to promote convection of the upper and lower water layers; it needs to be turned on longer at night and in rainy days, especially when the dissolved oxygen is at its lowest from 3 to 5 am.
2. Dissolved oxygen monitoring
Equipped with a dissolved oxygen meter for real-time monitoring to ensure that the dissolved oxygen is not less than 4 milligrams per liter, preferably 5 to 8 milligrams per liter. If it is less than 3 milligrams per liter, it is necessary to increase oxygen immediately.
3. Aerator maintenance
Regularly check the impeller, bearing, and motor to remove attachments; the microporous tube needs to be cleaned regularly to prevent blockage; it should be properly stored after being discontinued in winter.
4. Emergency measures
Prepare a chemical aerator (e.g. sodium percarbonate) and a backup aerator in case of power outages or equipment failures.
VII. Common problems and misunderstandings
Myth 1: The more power the aerator, the better
The power is too large, the water flow is too rapid, which affects the feeding and molting of shrimp, and consumes power. It should be reasonably configured according to actual needs.
Misunderstanding 2: Only turn on the aerator and do not detect dissolved oxygen
The operation of the aerator does not mean that the dissolved oxygen is up to standard. It is necessary to regularly detect the dissolved oxygen and scientifically adjust the startup time.
Misunderstanding 3: The aerator runs around the clock
Excessive oxygenation will increase costs and may lead to water bubble disease. It should be adjusted flexibly according to weather and water quality.
Question: Is there still insufficient dissolved oxygen after the aerator is configured?
Possible reasons: insufficient power, unreasonable layout, equipment failure, water quality deterioration, etc. Equipment needs to be inspected, layout improved, and water quality regulation strengthened.
VIII. Summary and recommendations
There is no fixed formula for the configuration of shrimp pond aerators, and factors such as breeding mode, density, and pond conditions need to be comprehensively considered. It is recommended to refer to the standard of "0.3~ 0.5 kW per mu" and fine-tune it on this basis. For high-density intensive breeding, it is recommended to adopt a compound aerobic mode and equip it with dissolved oxygen monitoring equipment to achieve scientific management.
Investing in an aerator is a necessary expenditure to ensure the safe production of shrimp ponds, and a reasonable configuration can significantly improve the breeding efficiency. I hope this article can help you scientifically configure an aerator to achieve efficient breeding.


