
 繁体中文
繁体中文 简体中文
简体中文
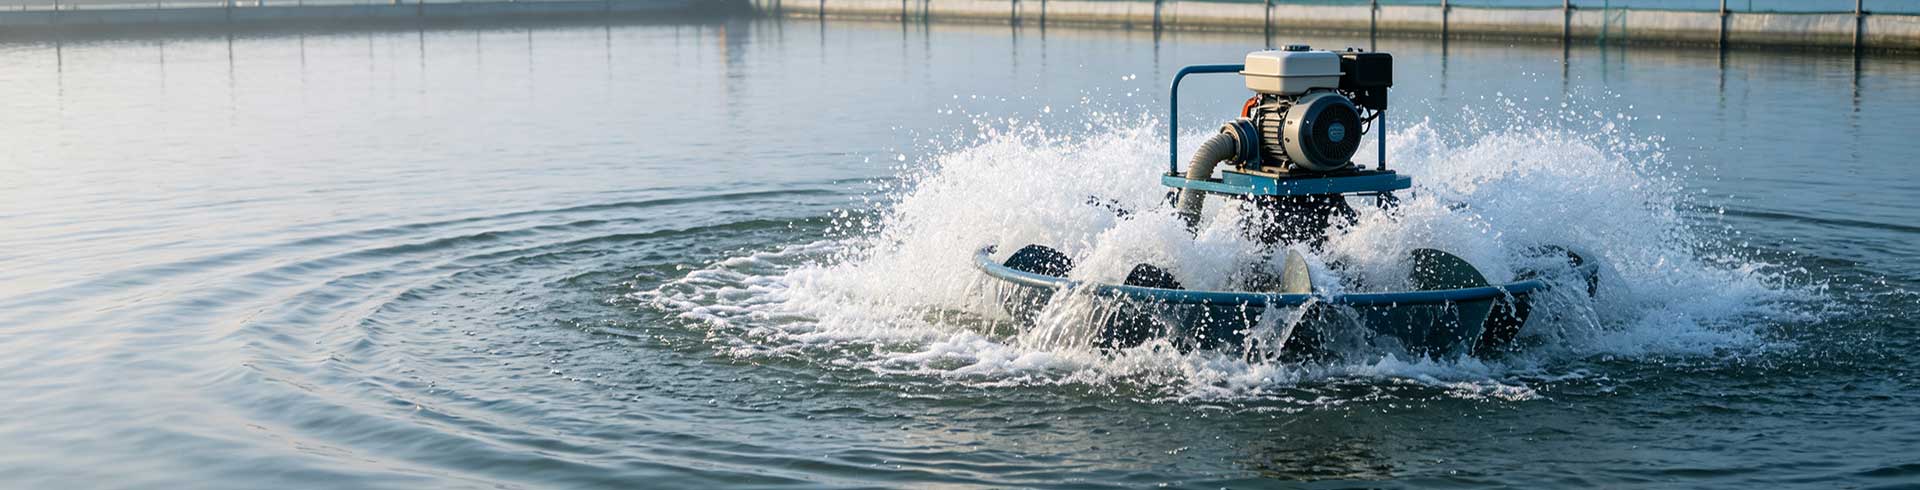

How to quickly determine the oxygenation effect of an aerator?
The aerator is a key equipment in aquaculture, and its effect directly affects the amount of oxygen dissolved in the water body and the growth of aquatic animals. However, many farmers often judge the effect by feeling after using the aerator, and lack scientific verification methods. This article will introduce 3 simple and practical test methods to help you quickly evaluate the aerating effect of the aerator and ensure the breeding benefit.
Method 1: Direct measurement with dissolved oxygen meter
The dissolved oxygen meter is the most accurate tool for measuring dissolved oxygen in water. Use a portable dissolved oxygen meter to measure the water samples around the aerator and at the four corners of the pond before and 1 hour after the aerator is turned on. If the amount of dissolved oxygen is increased by more than 1mg/L, it means that the aerobic effect is good; if the improvement is not obvious, check the running status or layout of the aerator.
Note when measuring: It should be carried out at 2-3 pm on a sunny day, when the dissolved oxygen in the water is high; at the same time, avoid sampling directly under the aerator to avoid bubbles interfering with the reading. It is recommended to sample at multiple points and take the average value to represent the dissolved oxygen level of the whole pool.
Method 2: Observe the floating head of fish
Fish floating head is a direct signal of insufficient dissolved oxygen. In the early morning or when the weather is hot, observe whether the fish are floating head. If the aerator is turned on, the floating head phenomenon is relieved within 30 minutes, indicating that the oxygenation effect is significant; if the floating head persists, it indicates that the oxygenation capacity is insufficient, and it is necessary to increase the startup time or adjust the position of the aerator.
In addition, pay attention to the activity status of the fish: healthy fish are active in swimming and feeding actively; if the fish are sluggish and gather near the aerator, it means that the dissolved oxygen in other areas is low, and the aerator may not cover the whole pool. It is necessary to consider adding auxiliary aerobic equipment.
Method 3: Examine water convection and bubble distribution
The main principle of the aerator is to promote the convection of the upper and lower layers of water by stirring the water body to increase the dissolved oxygen. After turning on the aerator, observe whether there are obvious splashes and bubbles on the water surface. If the splashes evenly cover more than 1/3 of the pond area, and the bubbles are small and dense, it means that the aerating effect is good; if the splashes are small or the bubbles are large and few, check whether the aerator blades are worn or the motor speed is normal.
You can also feel the water flow with your hands: at 1 meter around the aerator, you should be able to feel the obvious thrust of the water flow. If the water flow is weak, it may be due to insufficient power of the aerator or improper installation depth. At this time, the position of the aerator should be adjusted or the equipment with higher power should be replaced.
Question 1: How long after the aerator is turned on before the dissolved oxygen can be significantly improved?
Under normal circumstances, the dissolved oxygen in the water body will increase significantly 30 minutes to 1 hour after the aerator is turned on. The specific time depends on the power of the aerator, the area of the water body and the initial value of the dissolved oxygen. If there is still no change in the dissolved oxygen after 2 hours of turning on, it is necessary to check whether the equipment is faulty or whether the power matches.
Farmers are advised to record the change of dissolved oxygen regularly every day and establish a data file in order to adjust the oxygenation strategy in time. Especially in the high temperature season, the dissolved oxygen decreases rapidly at night, and the startup time should be appropriately extended.
Question 2: How to determine whether the aerator covers the entire pool?
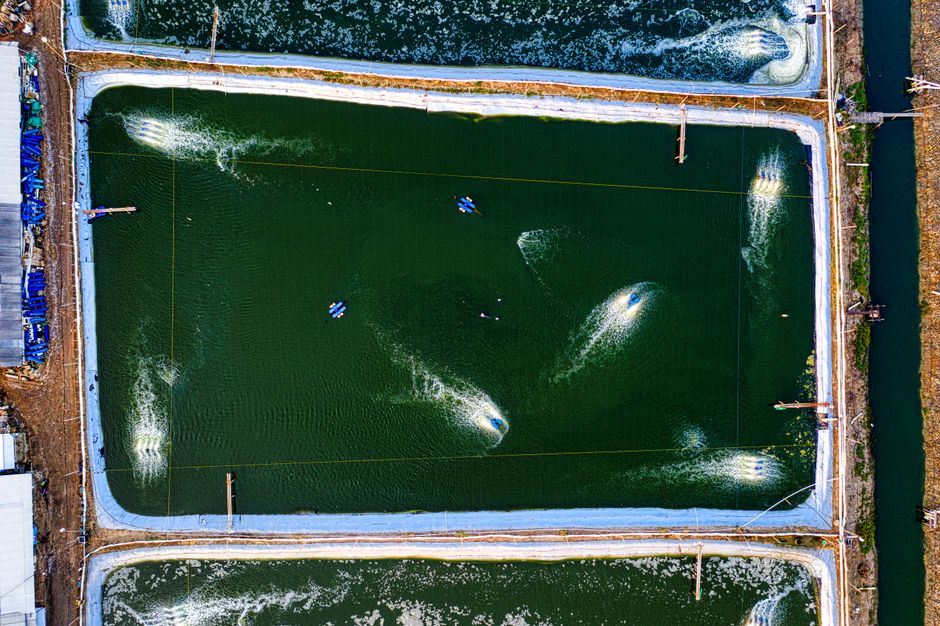
To determine the coverage of the aerator, buoys can be placed at the four corners of the pond to observe whether the splashes and bubbles can arrive. If the water surface in the corner is calm, it means that there are dead ends and the aerating effect is uneven. At this time, consider adding a swell machine or a microporous aerator to eliminate dead ends.
In addition, use the dissolved oxygen meter to measure the difference in dissolved oxygen at different locations. If the difference is greater than 1mg/L, it indicates that the water body is seriously stratified and the aerator cannot effectively mix the water body. You can increase the startup time or adjust the position of the aerator to cover the whole pool in the direction of water flow.
Question 3: How does the power of the aerator affect the aerating effect?
The power of the aerator is too small to effectively stir the water body, and the aerobic effect is poor; if the power is too large, electricity will be wasted, and the rapid water flow may harm the farmed animals. Usually, the water surface needs to be equipped with 0.3-0 kW aerator per mu, which can be adjusted according to the breeding density and variety.
For example, high-density shrimp ponds require higher power, while low-density fish ponds can be appropriately reduced. When selecting an aerator, refer to the applicable area provided by the manufacturer, and select the type based on the actual water depth and breeding varieties.
Question 4: What is the impact of the installation location of the aerator on the effect?
The aerator should be installed in the center of the pond or near the bait area to facilitate water circulation and dissolved oxygen diffusion. Improper installation position, such as close to the shore, will cause the water flow to one side and cannot cover the whole pool. It is recommended to fix the aerator on the pontoon, which can rise and fall with the water level to ensure that the impeller immersion depth is appropriate.
At the same time, pay attention to the distance between the aerators. Generally, the service radius of each aerator is about 15-20 meters. If the pond area is large, multiple aerators should be used together to form convection and improve the overall aerobic efficiency.
Question 5: How to judge the oxygenation effect by observing the water color?
The water color can reflect the content of plankton and organic matter in the water body, which indirectly affects the dissolved oxygen. If the water color is too thick (such as dark green), it means that there are too many algae, high dissolved oxygen during the day, high oxygen consumption at night, and easy to lack oxygen. After the aerator is turned on, if the water color becomes refreshing and the transparency increases, it means that the oxygenation promotes the decomposition of organic matter, and the effect is good.
If the water color is black or turbid, it may be that the bottom is hypoxic and the organic matter is rotten. At this time, it is necessary to strengthen oxygenation and cooperate with bottom improvement measures. It is recommended to change the water regularly and use microbial preparations to maintain a good water color.
Question 6: How to set the running time of the aerator?
The running time of the aerator should be flexibly adjusted according to factors such as weather, water temperature, and breeding density. It can be turned on for 1-2 hours in the afternoon on sunny days (12:00-15:00) to promote convection between the upper and lower layers; night (23:00-5:00 the next day) is the lowest period of dissolved oxygen and should be turned on continuously. On rainy days or when the air pressure is low, it should be turned on all day.
Avoid continuous operation for a long time to avoid overheating or wear of the motor. A timer or dissolved oxygen automatic control system can be installed to automatically start and stop according to the dissolved oxygen concentration, which is both energy-saving and efficient.
Question 7: How to determine whether the aerator needs maintenance?
There is abnormal noise, vibration or current increase during the operation of the aerator, which may be due to bearing wear or blade deformation. Regularly check whether the impeller is attached to debris and clean it to prevent blockage. Check the oil level of the gearbox every month to ensure good lubrication.
If the oxygenation effect decreases, you can first check whether the power supply voltage is stable, and then check the tightness of the transmission belt. Timely replacement of worn parts can prolong the life of the equipment and ensure the oxygenation effect.
Question 8: What are the differences in the requirements for oxygenation effect among different breeds?
Shrimp and crab have high requirements for dissolved oxygen, and need to keep dissolved oxygen above 5mg/L, so the aerator should be able to provide sufficient dissolved oxygen, and the water flow should not be too strong to avoid hurting shrimp and crabs. Fish such as silver carp and bighead carp are resistant to low oxygen, but high-yield ponds still need higher dissolved oxygen. Special breeding such as eel and sea bass requires higher dissolved oxygen.
Therefore, when judging the oxygenation effect, the dissolved oxygen demand of the breeding variety should be combined. If the dissolved oxygen is lower than the requirements, even if the aerator is running normally, it is necessary to increase the start-up time or add equipment to ensure the safety of breeding.
conclusion
Through the above 3 test methods, you can quickly evaluate the oxygenation effect of the aerator. Regular testing and adjustment can not only ensure the success of breeding, but also save costs. Choosing a regular manufacturer's aerator and doing daily maintenance is the key to increasing the efficiency of breeding. If you need more professional oxygenation equipment, please consult our customer service for customized solutions.


